

Hey all.
First off, although I'd think you've seen it already, here's a look at the official Stormraven:

Now we have that out of the way...I'm not fan. I don't like the big glass canopy or the little turret which looks like something from a Zoid. Nor am I keen on the overly-angled wings, or the miniature troop door, or the nose guns either...we could go on. Here's a dude who fixed a couple of those bits:
 |
| Photo shopped image by Brother Xeones at the Bolter and Chainsword |
This I prefer but still, y'know. Guess we'll have to wait and judge it 'in the flesh'. To be honest, some of the kitbashed Valkyries and Land Raiders look more convincing. Oh well. Enough complaints. For those of you wanting a few ideas of what other people have managed to make click this link to look at a blog post from Faeit 212 collecting a few together.
For the rest of this post there'll be a bunch of pictures and a few explanatory words of my own Stormraven progress. I've not really got as much done as I'd have liked by now (having had a week off). I'd have done more but I decided to paint the interior which I've been putting off. That means I've not been able to put the two halves together; therefore I've not made the roof, back, rear door, landing gear........
Anyway. Here's what has happened, all in glorious picture form:
 |
| Sorry about this dark pic! |

It fits fine so I glued it in place on both sides of the hull. The only problem is...

...glue (super and poly cement varieties) dissolve the foam! Lesson learned: test a piece first. They were glued well on so they would have to stay (am I that lazy?) but I was worried that the solvents in spray paint would further dissolve it. That meant I'd have to cover all the open edges.

One packet of styrene strip later and we have the 11 pieces required to box in the foam. he smallest of these pieces is 3mm by 4mm so it was a fiddle. I then cut a cover piece from 2mm plastic sheet to box the foam in completely.


Externally I tore up an old Land Speeder (that's been in my model box under coated black for the better part of a decade) to salvage the vent/grills that cover the air intake above the crews heads. Cut down they fit nicely into the cut off wing struts of the Valkyrie. I've decided to mount the engines on the back of the hull rather than with the wings and to remove the jet turbine intake from them; one of these small grills on each side and a third intake on the top will replace them.

A small fin/wing/bit was added to the back above the main wing. This was kind of just decorative really, I like how it sits at an angle between the hull and the wing (see previous pic also for that)

One of the engines (already shortened in part one) without the turbine intake and what will be the tail fin. The post for this is made from the two cut off ends of the Valkyrie wing struts (also chopped off in part one).

An idea pinched from the good folk at mywargame.com. The addition of a little plasti-card triangle and I can use these as the smaller front wings (I'm sure all these things have proper names but I know nothing about aeroplanes!) although I'm not sure if/where they'll fit.
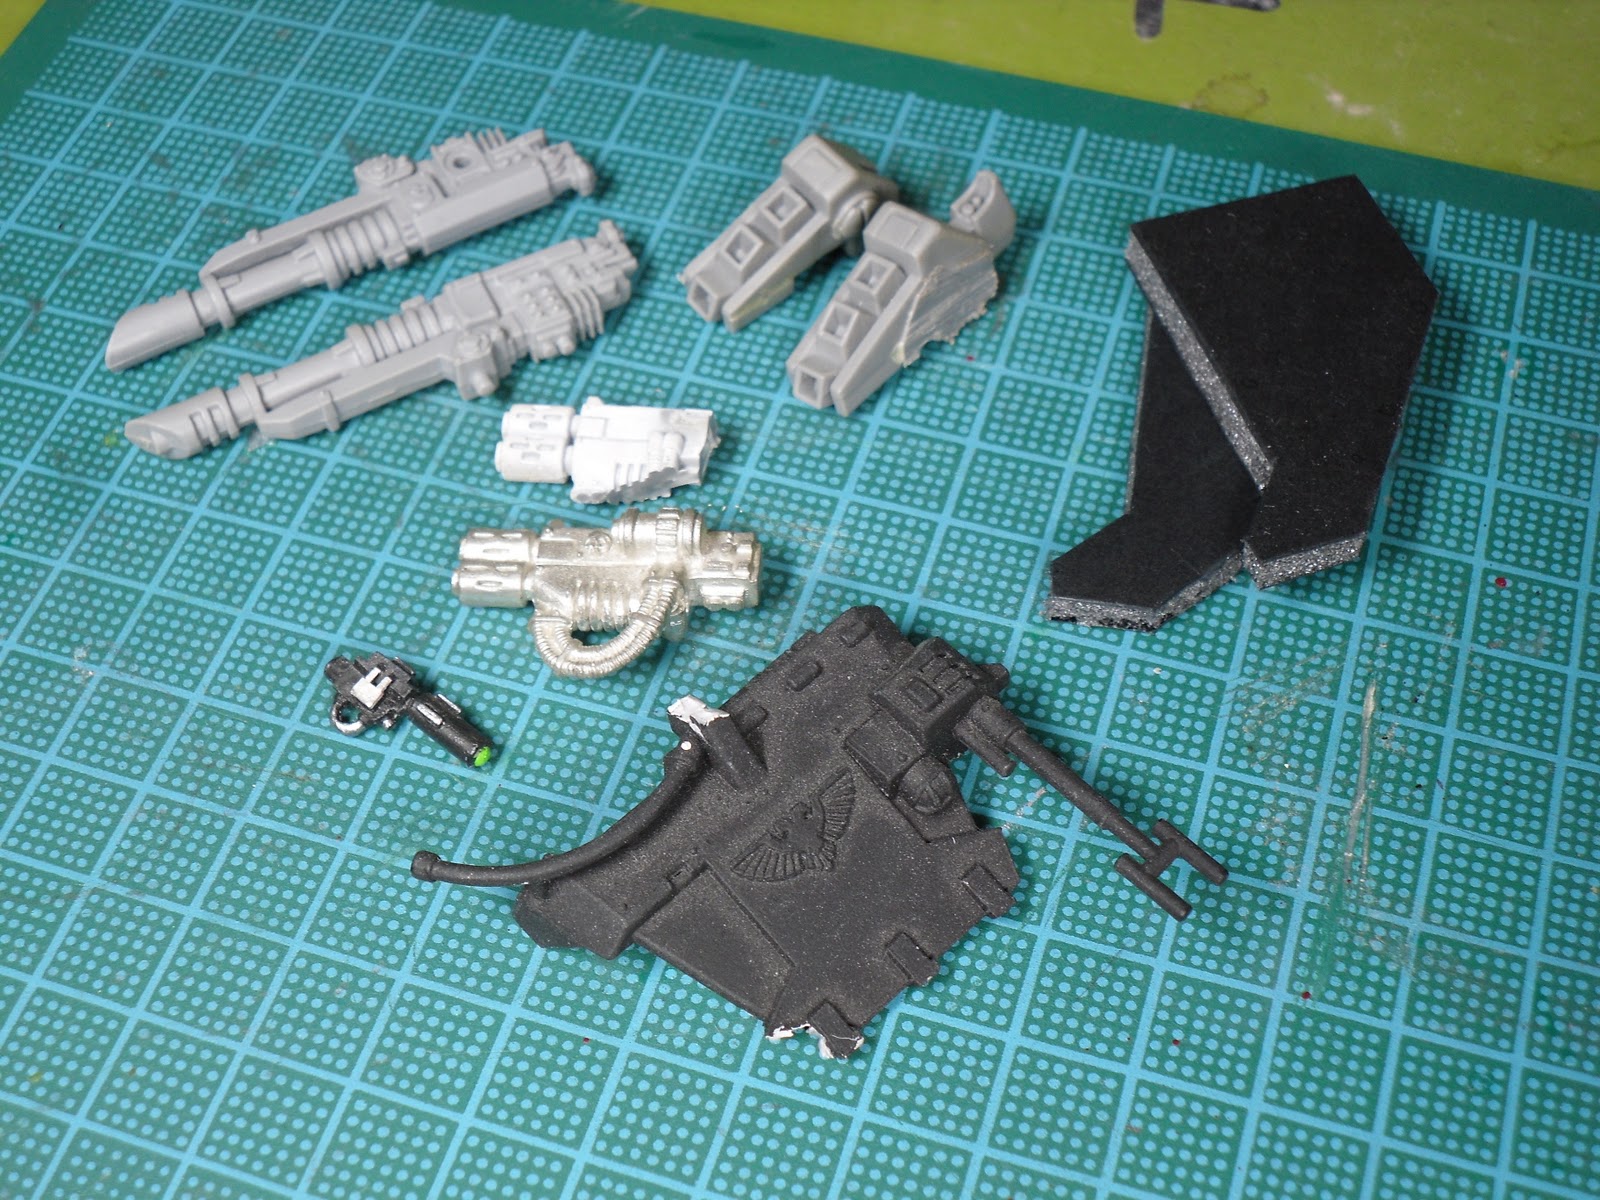
Last one now...promise. These are a few of the bits still to go on. More foam pieces, Las and Melta weapon options, a bit more ripped up Land Speeder and the jet pack parts from a Tau Crisis Suit (which will hopefully fit as some sort of nose based vector-jet-type-things.
So, that's progress summed up. The amount of pictures makes it look like I've done more than I really have. The joys of a good optical illusion! Once the two hull pieces are glued though then it should be easier progress from there on and I can start seeing what it's going to be like as a more solid shape.
There'll also be an update for the rest of the army soon. Some jump troops and probably the main 1,500 point army list of the Angels Sanguine this beast is being built for.
Until then my friends, adiós!